Price
-
from
to
On sale
Mix Your Own Vape Juice and Control Cost & Flavour
Stop overpaying for ready-made e-liquids. DIY mixing lets you control flavour strength, nicotine level and VG/PG ratio using base liquids, concentrates and nicotine shots.
Why DIY is growing in Ireland: better cost per ml, consistent flavour and full control over your setup. Instead of buying fixed liquids, you build your own blend exactly how you want it.
This category includes PG/VG base liquids, flavour concentrates and mixing accessories designed for accurate, small-batch preparation in refillable pod systems and tanks.
Typical use: mix 50ml or 100ml batches using base + flavour + nicotine shot, depending on your preferred strength and device setup.
Compliance: All nicotine-containing products follow EU TPD regulations and are intended for adult users (18+) in Ireland.
 Eirhorse Super Pure Propylene Glycol (PG) 100ml (99.9%))
€39.99


What You Need for DIY Mixing
The DIY category includes all components required to prepare custom e-liquid blends with controlled ratios and nicotine levels.
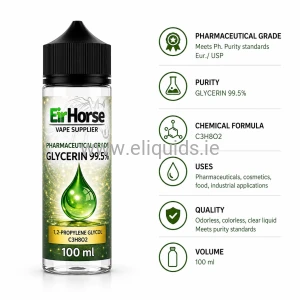
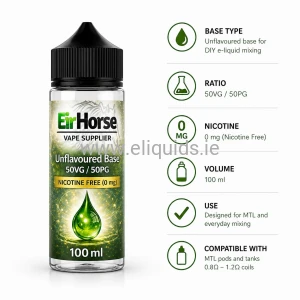
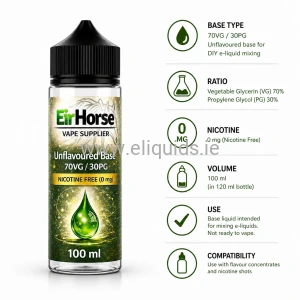
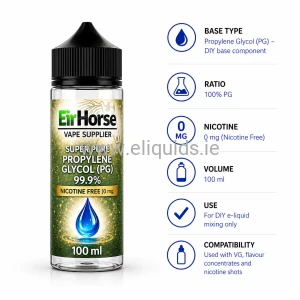
- Base Liquids – PG, VG and pre-mixed base ratios
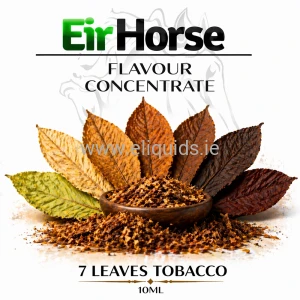
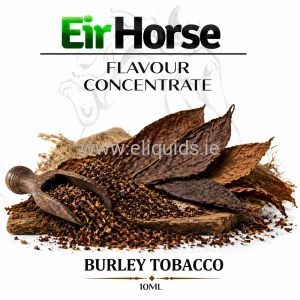
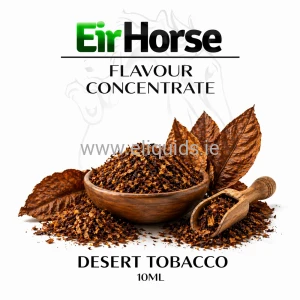
- Flavour Concentrates – concentrated flavourings for dilution
- Nicotine Shots – 10ml TPD-compliant boosters (up to 20mg/ml)
- Accessories – bottles, syringes and measuring tools
DIY Liquid Composition and Ratios
Swipe horizontally on mobile devices.
| Parameter | Specification | Usage Context | Technical Notes |
|---|---|---|---|
| Base Ratios | 100% PG / 100% VG / 50/50 / 70/30 | MTL / DTL setups | Controls vapour and throat hit |
| Nicotine Strength | Up to 20mg/ml (shots) | Pod systems | TPD regulated in Ireland |
| Flavour Concentrate | 5%–20% | All setups | Depends on flavour profile |
| Steeping Time | 1–7 days | Post-mixing | Desserts require longer |
Device Performance and Mixing Behaviour
| Parameter | Specification | Usage Context | Technical Notes |
|---|---|---|---|
| MTL Setup | 50/50 ratio | Pod systems | Best flavour clarity |
| DTL Setup | 70VG / 30PG | Sub-ohm kits | Higher vapour output |
| Coil Behaviour | Variable | Sweet mixes | May reduce coil lifespan |
| Temperature Sensitivity | High VG thickens | Cold climate (Ireland) | 50/50 improves stability |
Guides and Technical Resources
For accurate mixing and safe usage, review the following guides:
Nicotine – Regulatory & Safety Information DIY E-Liquid Mixing Guide Ireland VG/PG Ratio & Temperature Behaviour Storage & Oxidation of E-Liquid
Safety and Regulatory Context in Ireland
Nicotine-containing products are limited to 10ml bottles with a maximum strength of 20mg/ml under Irish TPD regulations. Accurate measurement and safe storage are essential when preparing DIY e-liquids.
For adult users (18+) in Ireland.
FAQ – DIY E-Liquid Mixing
Is DIY mixing cheaper than buying ready-made liquids?
Yes. DIY typically reduces cost per ml, especially for regular users.
Which ratio should I use?
50/50 works best for pod systems. 70VG/30PG is better for sub-ohm setups.
Do DIY liquids need steeping?
Most mixes improve after 1–7 days depending on flavour type.
Last Updated: March 2026

€6.99
Regular price:
€10.99

€35.99
Regular price:
€54.99

€9.99
Regular price:
€18.99

€0.99
Regular price:
€2.99

€0.99
Regular price:
€2.99

€1.99
Regular price:
€4.20

€35.99
Regular price:
€49.99
€12.99
Regular price:
€17.99

€9.99
Regular price:
€14.99

€4.99
Regular price:
€9.99